GitHub (opens new window) 能托管软件项目,对个人开发者来说十分友好,并且它还提供了GitHub Pages (opens new window) 功能,让我们可以搭建我们自己的个人博客网站。
# 关联账户
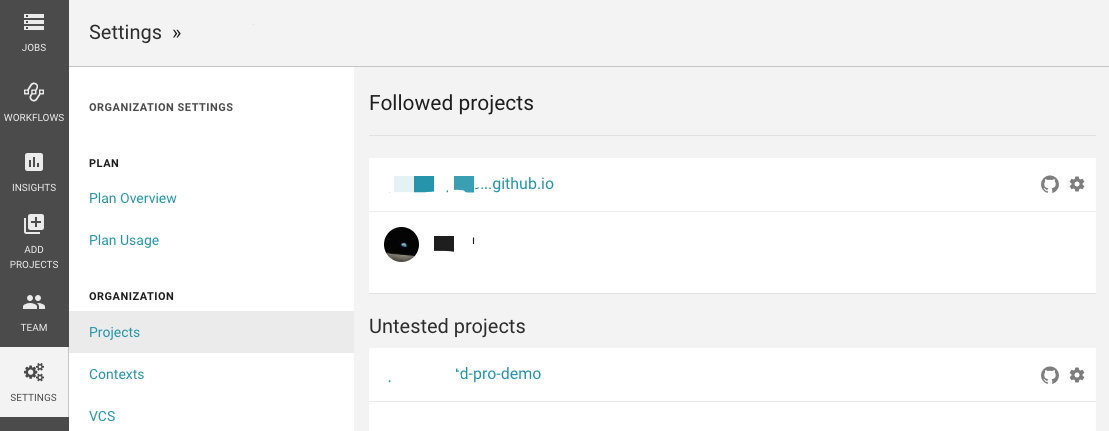
既然是构建自己的博客网站,就首先要有博客仓库,并且将仓库托管到GitHub上。这里是使用VuePress (opens new window)来搭建我们的博客。
然后在CircleCI (opens new window)上,用 GitHub账号 登录CircleCI。登录后,就可以将我们的GitHub仓库和CircleCI连接起来
# 添加 ssh 密钥
- 创建密钥
通常我们都是使用ssh-keygen -t rsa创建公钥(.pub)和私钥,但是在CircleCI上添加密钥时会报错:
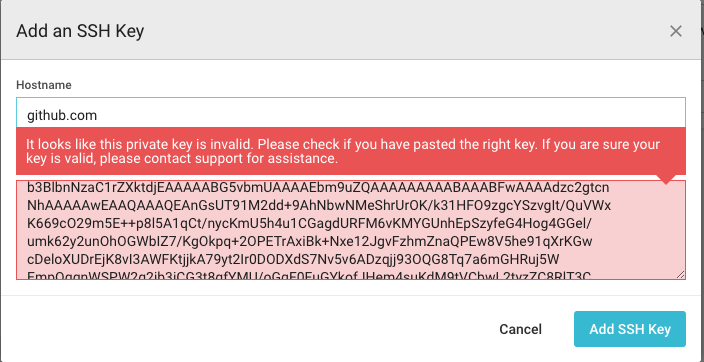
然后官网提供了方案 (opens new window):
ssh-keygen -m PEM -t rsa -C "email@example.com"
- 添加密钥
生成了ssh密钥后,我们需要将密钥添加到CircleCI上,将公钥添加到GitHub上。
GitHub添加公钥就不说了,这里只说CircleCI添加密钥。
添加密钥时, Hostname 需要填 github.com
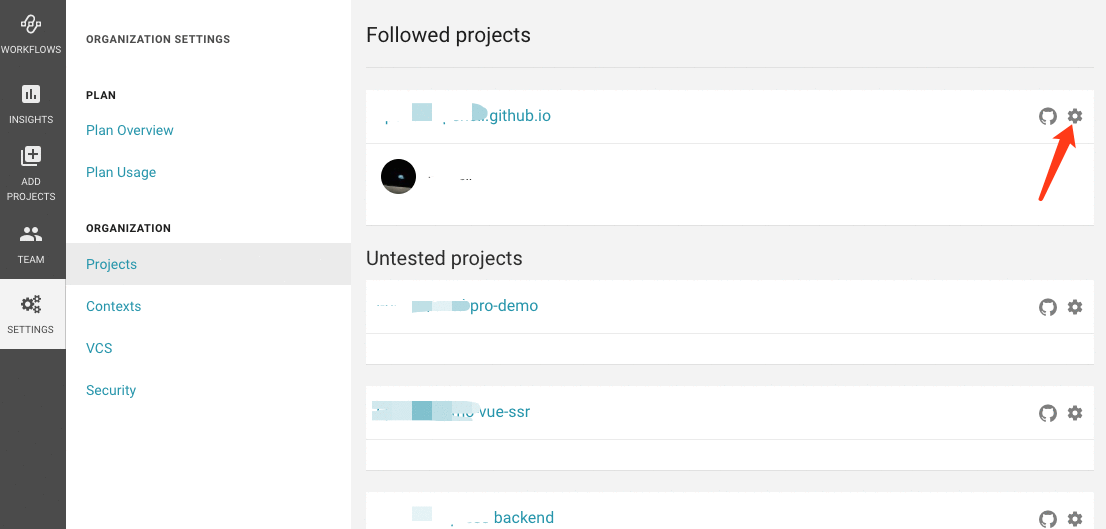
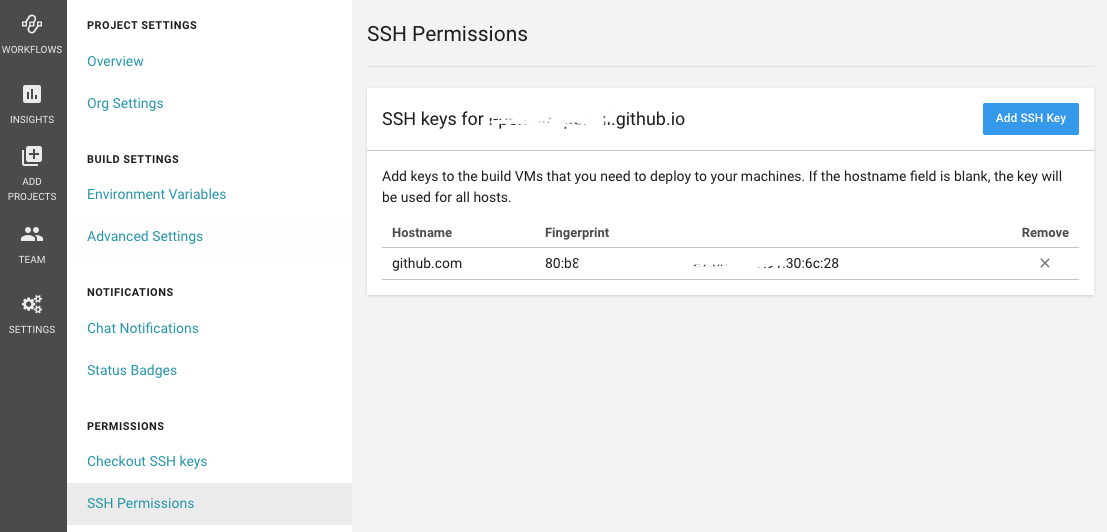
密钥添加完后,就可以看到列表这里有了内容:
GitHub添加完后:
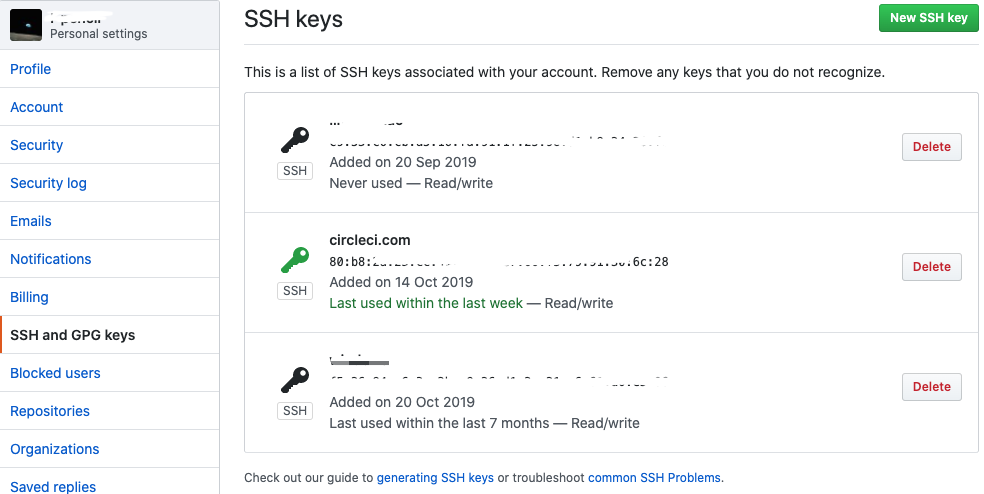
可以看到CircleCI和GitHub上fingerprints是相同的。
其中,fingerprints我们是需要添加到构建步骤里的:
steps:
  - add_ssh_keys:
      fingerprints:
        - "80:b8:2a:XX:XX:XX:XX:XX:6c:28"
# 构建配置
在项目根目录下新建文件夹.circleci,然后再新建两个文件,目录就是这样:
|-- blog // 项目名称
  |--.circleci
      |-- config.yml
      |-- deploy.sh
其中,config.yml文件是配置文件,deploy.sh是部署脚本.
部署脚本在VuePress有教程 (opens new window):
#!/usr/bin/env sh

# 终止一个错误
set -e

# 构建
npm run build

# 进入生成的构建文件夹
cd blog/.vuepress/dist

# 如果你是要部署到自定义域名
# echo 'www.example.com' > CNAME

git init
git add -A
git commit -m 'deploy'

echo "before push"
# 如果你想要部署到 https://<USERNAME>.github.io
git push -f git@github.com:<USERNAME>/<USERNAME>.github.io.git master
echo "after push"
cd -
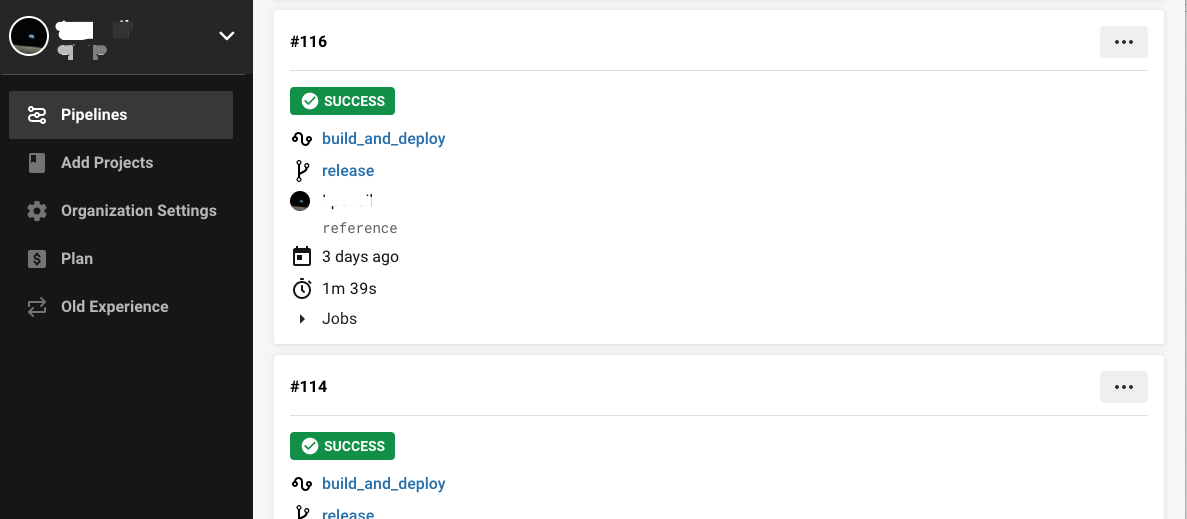
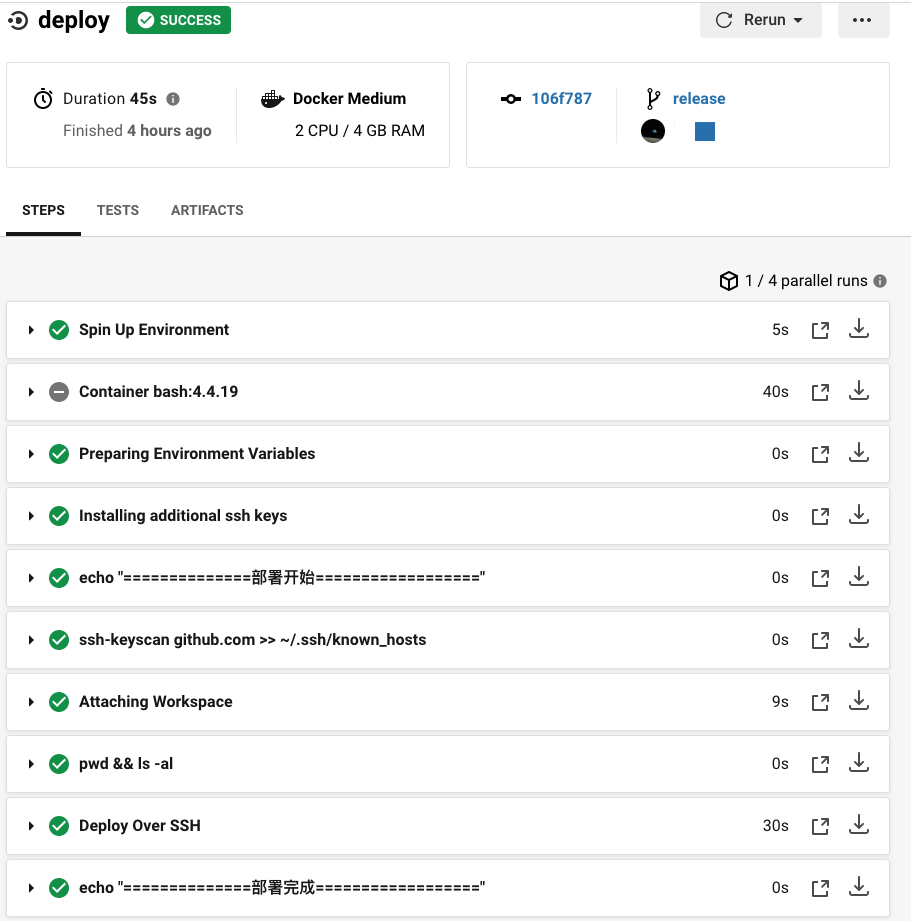
然后在CircleCI里可以看到部署任务列表和部署详情:
# 遇到的问题
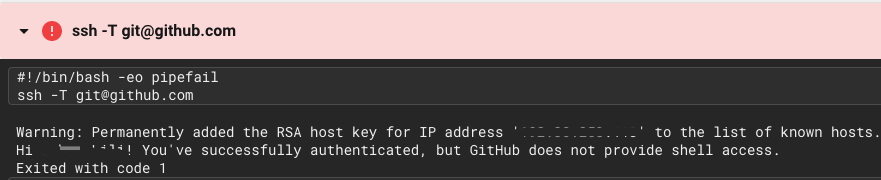
# 1. The authenticity of host 'github.com' can't be established
当CircleCI服务器尝试连接到GitHub的主机时,它可能会提示验证主机密钥。提示是自动化的氪星石:CI环境将无限期挂起,等待用户给出响应。这时我们就只能取消Job:

解决方法:
- run: ssh-keyscan github.com >> ~/.ssh/known_hosts
# 2. GitHub does not provide shell access
这里我们需要执行脚本,但是GitHub可能会提示没有权限。
解决方法:
- run:
  name: get bash permission
  command: chmod 755 ./.circleci/deploy.sh
# 3. git 配置

这个简单,只需要按照提示,在部署脚本里加上Git配置就可以了。
# 最终部署脚本
- config.yml
version: 2
jobs:
  build:
    working_directory: /tmp/workspace
    docker:
      - image: circleci/node:latest
      - image: bash:4.4.19
    steps:
      - run: echo "==============构建开始=================="
      - checkout
      - run: sudo apt-get update
      - run: sudo apt-get install git
      - run:
          name: Update npm
          command: 'sudo npm install -g npm@latest'
      - restore_cache:
          key: dependency-cache-{{ checksum "package.json" }}
      - run:
          name: Install npm dep
          command: npm install
      - save_cache:
          key: dependency-cache-{{ checksum "package.json" }}
          paths:
            - node_modules
      - persist_to_workspace:
          root: .
          paths:
            - ./*
      - run: echo "==============构建完成=================="
  deploy:
    working_directory: /tmp/workspace
    docker:
      - image: circleci/node:latest
      - image: bash:4.4.19
    steps:
      - add_ssh_keys:
          fingerprints:
            - "80:b8:2a:XX:XX:XX:XX:XX:6c:28"
      - run: echo "==============部署开始=================="
      - run: ssh-keyscan github.com >> ~/.ssh/known_hosts
      - attach_workspace:
          at: /tmp/workspace
      - run: pwd && ls -al
      - run:
          name: get bash permission
          command: chmod 755 ./.circleci/deploy.sh
      - run:
          name: Deploy Over SSH
          command: ./.circleci/deploy.sh
      - run: echo "==============部署完成=================="

workflows:
  version: 2
  build_and_deploy:
    jobs:
      - build
      - deploy:
          requires:
            - build
          filters:
            branches:
              only: release
这里我使用 release 分支作为部署分支,因为使用 VuePress 时,构建后,项目的目录会不同,然后 push 到 master 分支后,项目就改变了。再次 push 时,它会要求我们先从 master 分支上 pull 最新代码,这不是我想要的结果,所以用 release 分支作为部署分支。
- deploy.sh
#!/usr/bin/env sh

# 终止一个错误
set -e

git config --global user.email "you@example.com"
git config --global user.name "your name"


# 构建
npm run build

# 进入生成的构建文件夹
cd blog/.vuepress/dist

# 如果你是要部署到自定义域名
# echo 'www.example.com' > CNAME

git init
git add -A
git commit -m 'deploy'

echo "before push"
# 如果你想要部署到 https://<USERNAME>.github.io
git push -f git@github.com:<USERNAME>/<USERNAME>.github.io.git master
echo "after push"
cd -
配置好了之后,我们每次push代码到release分支时,就会自动构建啦,打开我们的个人GitHub Pages网站时,就可以看到我们的博客网站啦。